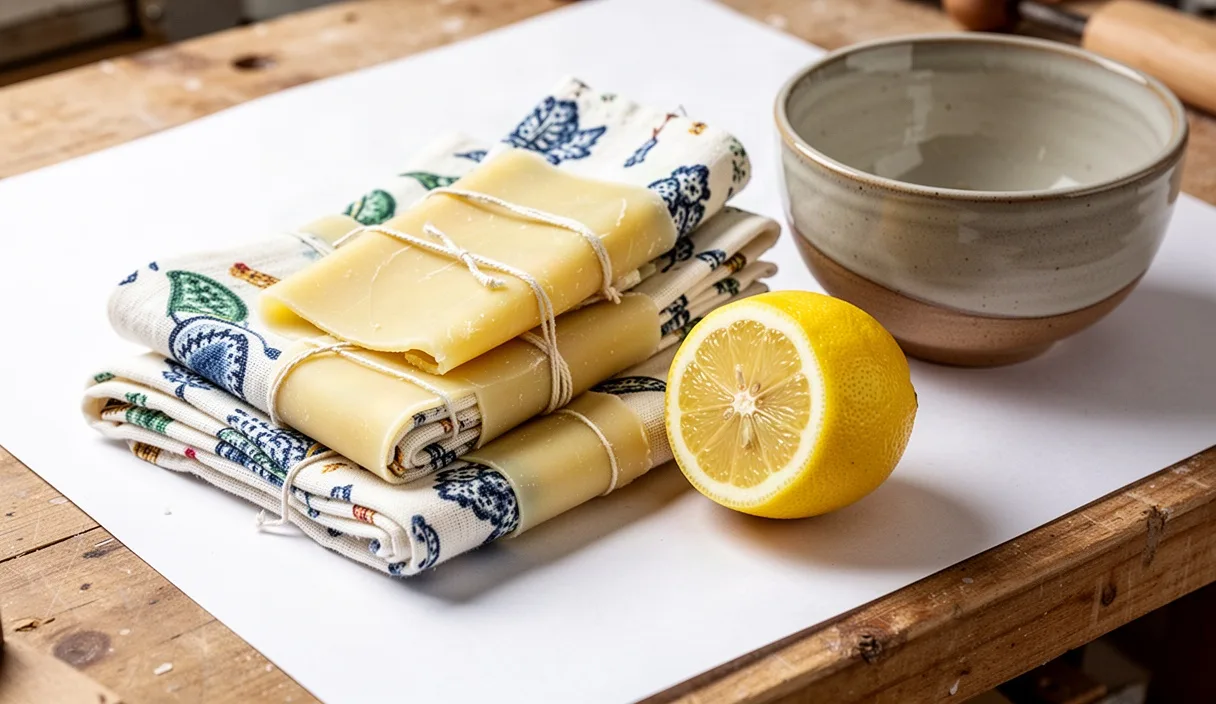
In our workshop, cloth rarely goes to waste. Long off-cuts from garment making and small remnants from quilt backings often sit in willow baskets beside the cutting table, waiting for a sensible use. When we coat lightweight cotton in a balanced mix of beeswax, tree resin, and conditioning oil, we turn those flat scraps into malleable kitchen covers that take the place of clear plastic film. The resulting fabric yields under the warmth of your hands, grips the rim of a ceramic bowl, and folds neatly around a heel of hard cheese or a halved cabbage.
Working with melted wax and warm rosin is a quiet, rhythmic process. The shop fills with the dry, honeyed scent of molten comb and the sharper, evergreen note of crushed pine resin. Making these wraps at home requires simple tools you likely own already: a household clothes iron, unbleached parchment paper, and a pair of pinking shears. Once you learn the physical balance between tackiness, flexibility, and wax saturation, you can keep a set of kitchen wraps in service for years through simple washing and periodic re-melting.
Selecting Unbleached Lightweight Cotton Scraps
The choice of base fabric directly determines how much wax the wrap holds and how easily it folds over containers. We reach exclusively for unbleached, undyed plain-weave cotton with a fabric weight between 100 and 130 grams per square meter. A light muslin, lawn, or fine quilting cotton works best. If the weave is too open, the wax fills large voids and cracks when folded. If the weave is too heavy, such as a duck canvas or drill, the cloth drinks up an excessive volume of wax, becoming a rigid board that refuses to mould to the curve of a jar.
Before any wax touches the fibers, we must scour the cloth. Commercial textiles carry sizing, natural plant starches, and spinning oils that prevent the melted wax compound from penetrating deeply into the core of the cotton thread. We run our scraps through a hot wash at 60 degrees Celsius using a simple plant-based detergent or washing soda, without fabric softener. Once dry, we press the cotton with a dry iron to flatten every crease. A smooth surface ensures an even distribution of wax without dry valleys or pooled plateaus.
| Fabric Type | Approximate Weight | Pliability When Waxed | Suitability |
|---|---|---|---|
| Cotton Muslin | 110 gsm | Very supple; forms tight corners | Optimal choice for general wraps |
| Light Quilting Calico | 125 gsm | Moderate stiffness; durable body | Optimal choice for large bowl covers |
| Linen Sheer | 140 gsm | Stiff initially; softens with handling | Good, but requires more resin for tack |
| Cotton Duck / Canvas | 240 gsm | Rigid; resists hand heat | Unsuitable; will crack and fail to seal |
Always inspect the fiber content carefully before cutting. Synthetics like polyester or nylon cannot absorb the hot wax; the molten mixture simply sits on the surface of synthetic threads and flakes away in dusty sheets upon the first fold. Only cellulose fibers like cotton, linen, or hemp allow the hot compound to wick deep into the fiber bundle itself.
Blending Beeswax, Pine Rosin, and Jojoba Oil
Pure beeswax alone does not make an effective food wrap. While beeswax provides water resistance and firm body, a wrap coated solely in wax feels slippery, cracks into white lines when bent, and lacks the tackiness needed to stick to itself or glass. To achieve a functional wrap, we blend three distinct components: yellow beeswax for structure and moisture retention, gum rosin (colophony) for adhesion, and jojoba oil to keep the wax supple in cool pantry temperatures.
For a reliable batch that yields roughly six medium wraps, we measure our ingredients by mass using a gram scale:
- 70 grams yellow beeswax: Filtered cappings wax from a local apiary works best, though clean cosmetic-grade pellets are equally dependable.
- 20 grams crushed pine rosin: Derived from pine oleoresin, this provides the gripping friction that makes the cloth adhere to bowl rims.
- 10 grams golden jojoba oil: Technically a liquid wax ester rather than a triglyceride, jojoba will not turn rancid over months of kitchen use, unlike olive or canola oil.
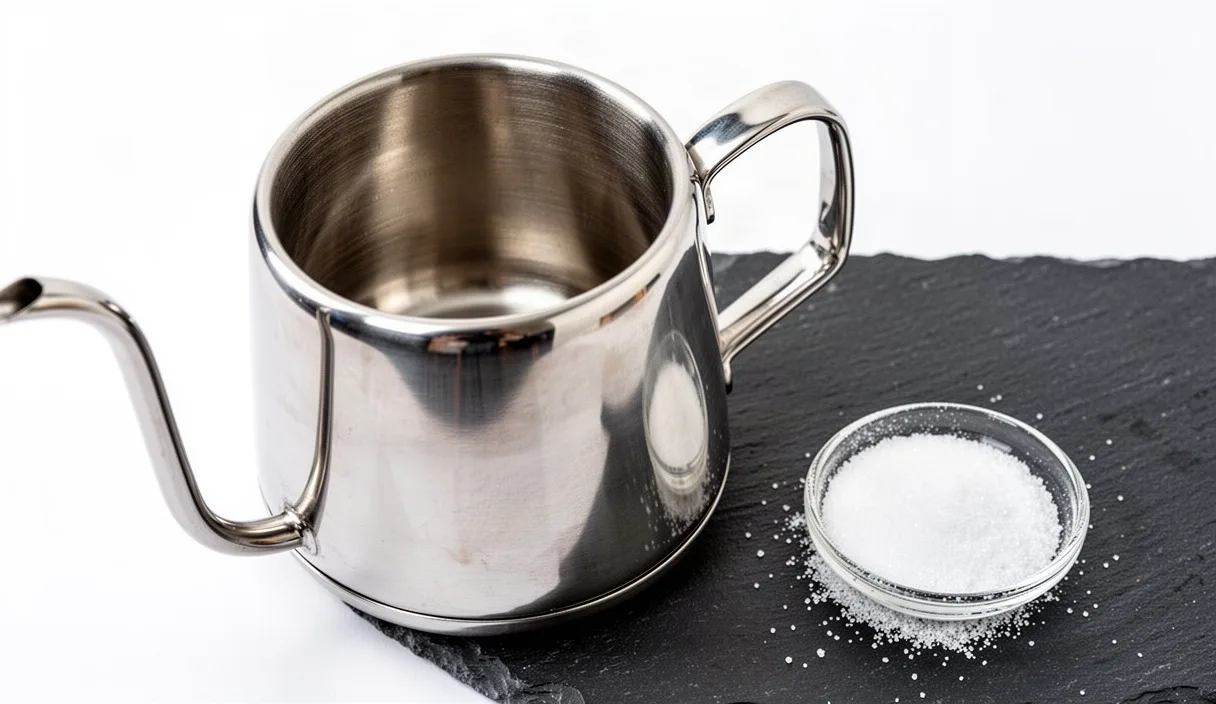
Melting this mixture requires patience and gentle heat. Pine rosin softens around 75 degrees Celsius, while beeswax melts between 62 and 64 degrees Celsius. We set a dedicated clean tin can or an inexpensive stainless pitcher into a water bath over medium-low heat. Never heat rosin or wax directly over an open flame or electric burner element, as the vapors are flammable at elevated temperatures. We pulverize the rosin lumps into a rough sand inside a heavy canvas rag with a wooden mallet before adding them to the pot; fine granules dissolve into the melted wax far quicker than whole chunks.
Stir the mixture steadily with a clean wooden dowel or chopstick. The resin will sink to the bottom as a sticky layer before slowly integrating into the wax and oil. Once the liquid is clear, pale amber, and uniform with no resin sediment remaining on the bottom of the vessel, remove it from the heat source.
The Parchment Paper and Flat Iron Method
While commercial makers often use immersion dipping tanks, we favor the flat iron method for home craft. It offers complete control over saturation without requiring large pans of molten compound. To begin, pad your work surface. We lay a thick wool blanket or two folded bath towels over a sturdy wooden workbench, then place a sheet of standard brown parchment paper over the towel to protect it from stray wax.
Cut your pre-washed fabric to size. A versatile everyday square measures 25 by 25 centimeters. Lay the fabric flat on the parchment paper. If your wax blend has cooled into a hard cake, grate it against the coarse side of a stainless box grater. Scatter the grated blend sparingly across the surface of the cotton. You will need far less than you think: roughly 12 to 15 grams of shredded mixture covers a 25-centimeter square. Leave an uncoated border of two centimeters around the perimeter, as the iron will push the surplus compound outward.
Applying Heat and Guiding the Wax
Cover the fabric with a second sheet of parchment paper, ensuring it extends well beyond the edges of the cloth. Set your dry iron to a medium wool setting, roughly 135 to 145 degrees Celsius. Do not use steam. Rest the hot soleplate on the center of the parchment sandwich. As the heat penetrates, you will see through the paper as the opaque fabric turns dark and translucent, signaling that the wax is liquefying.
Glide the iron slowly from the center toward the outer raw edges with moderate downward pressure. You are manually pushing a small wave of molten wax ahead of the iron plate, forcing the compound deep through the fibers to the underside of the cloth. If you reach a corner and notice a dry, pale patch of cotton, peel the top parchment back, drop a pinch of grated wax onto the dry spot, replace the paper, and press again. When the entire piece looks evenly damp with no white weave showing, the fabric is fully saturated.
Curing and Trimming the Coated Edges
Working quickly while the wax remains molten, set the iron aside on its heel, peel the top parchment sheet away, and lift the wrap by two corners. Lift it cleanly and immediately away from the bottom sheet. Hold the wrap suspended in the cool air of the room, keeping it taut between your fingers. Do not wave it aggressively, which can cause rippling or uneven thickness. In 15 to 20 seconds, the glossy sheen dulls to an eggshell finish as the blend solidifies.
Once cool to the touch, place the wrap onto a clean cutting mat. Because plain-weave cotton frays when left raw, we dress every edge. A traditional folded hem is too bulky for a wrap; it creates thick borders that prevent the cloth from sealing flat against dish rims. Instead, use a sharp pair of pinking shears to cut along all four borders, removing three to five millimeters of material. The zig-zag cut, locked in place by the beeswax matrix, prevents thread unraveling during wash cycles.
We typically prepare three standard sizes for domestic use:
- Small (18 by 18 centimeters): Sized to cap jars, cover cut lemons, or bundle a handful of dried nuts.
- Medium (26 by 26 centimeters): Fits typical cereal bowls, blocks of cheddar, or melon wedges.
- Large (35 by 35 centimeters): Suited for mixing bowls, small sourdough loaves, or bunches of fresh greens.
Cold Water Washing Rules to Preserve Wax Life
The thin resin-wax film that gives these wraps their utility is easily damaged by heat and aggressive surfactants. The most critical rule of wrap maintenance is absolute avoidance of hot water. Water warmer than 40 degrees Celsius softens the pine rosin, and water near 60 degrees Celsius washes the wax out entirely, leaving you with limp, soiled cotton.
Take the wrap to the sink and run cool tap water over both faces. If you wrapped a dry item like bread or hard cheese, a rinse and a wipe with a damp washcloth is sufficient. If the wrap held moist produce or oily cheese, apply a single drop of mild, alcohol-free dish soap onto a soft cellulose sponge. Gently wipe the surface using circular motions. Avoid stiff nylon scrub brushes or abrasive scouring pads, which will scratch the wax layer and cause mechanical peeling.
Rinse away the soap thoroughly under a low-pressure stream of cold water. Do not wring or twist the wrap as you would a kitchen rag; wringing creates sharp, permanent micro-fissures in the resin blend. Instead, shake the excess water droplets from the sheet and hang it over a wooden clothes drying rack or pin it to an indoor line away from direct sunlight, heating radiators, and the warm exhaust of your refrigerator. Once dry, store your wraps flat in a drawer or loosely rolled inside a stoneware crock.
Beeswax wraps are not suitable for raw meat, raw poultry, or wet cuts of oily fish, because these proteins require scalding water and harsh sanitizers to clear pathogens safely. For covering acidic citrus cuts or heavily sauced dishes, ensure the food does not directly contact the wax for prolonged periods, as citric acid and animal fats break down the rosin binding over time.
Re-melting Old Wraps to Fill Creases and Cracks
With repeated folding and washing over six to twelve months of daily use, a wrap shows signs of age. You will notice fine, chalky white lines across high-crease zones, edges that lose their cling, and areas where the fabric feels thin and limp. Do not discard these cloths. One of the greatest virtues of this craft is that the cotton base outlasts several generations of wax coatings.
To mend an aged wrap, brush away any loose kitchen debris or crumbs from the cloth. Set the iron back to wool temperature and prepare two clean sheets of parchment. Lay the tired wrap between the parchment papers and press firmly with the iron, sweeping slowly from the center out to the edges just as you did during creation. The gentle heat instantly remobilizes the wax trapped in adjacent fibers, liquefying the compound and flowing it back into the white stress fractures.
If the wrap has lost substantial material through abrasion, sprinkle a small amount of freshly grated beeswax-rosin-jojoba mixture directly over the thinnest areas before pressing. Usually, three to four grams of new shavings restores an old medium wrap to its initial suppleness and grip. Lift the warm cloth, hold it in the air for twenty seconds to set, and return it to kitchen duty. You can repeat this replenishment process four or five times before the underlying cotton fibers wear out.
Common Mistakes to Avoid
Small variations in materials and heat produce distinct failures. Paying close attention to the feel and behavior of the cloth reveals where the balance tipped:
- Excessive pine rosin: The wrap feels sticky rather than tacky, leaving a stubborn yellowish resin residue on hands, cutting boards, and glass bowls. If this happens, re-iron the wrap between fresh scrap cloths to draw out the excess rosin, or add pure grated beeswax.
- Excessive jojoba oil: The wrap leaves a greasy, oily film on glassware and fails to hold folded shapes. Jojoba should never exceed 15 percent of the total mixture mass.
- Iron too hot: Scorched wax gives off an acrid, sharp smoke and yellows the cotton fibers. If the wax smokes, reduce iron heat immediately; overheated rosin turns brittle and loses its binding strength permanently.
- Wax saturation too heavy: Puddles of wax form glossy, hard pools on top of the cloth rather than sinking in. The cloth becomes rigid and flakes when bent. Fix this by sandwiching the wrap between plain un-waxed cotton scraps and ironing through; the dry cotton will wick away the surplus.
Practical Next Steps for Your Workbench
To build a working kit, prepare your materials in batches rather than for a single wrap. We find it convenient to melt down a half-kilogram batch of our compound at the start of the season, pouring the molten liquid into silicone ice cube trays or mini muffin tins. These hardened pucks sit indefinitely in a sealed glass mason jar in the workshop drawer, ready to be grated over new fabric off-cuts or old kitchen wraps whenever maintenance is due.
Begin by cutting three test squares of pre-washed muslin, perhaps 20 centimeters square each. Coat the first using the iron and parchment method, let it cure, and use it over an open jar of oats or a small ceramic cup for a day to observe how it holds the seal. Adjust your pressure and wax volume on the second and third squares based on how the first behaves under your fingers. Through direct handling of the cloth, wax, and heat, you will quickly develop the touch needed to keep your kitchen well-supplied with durable, mendable coverings.