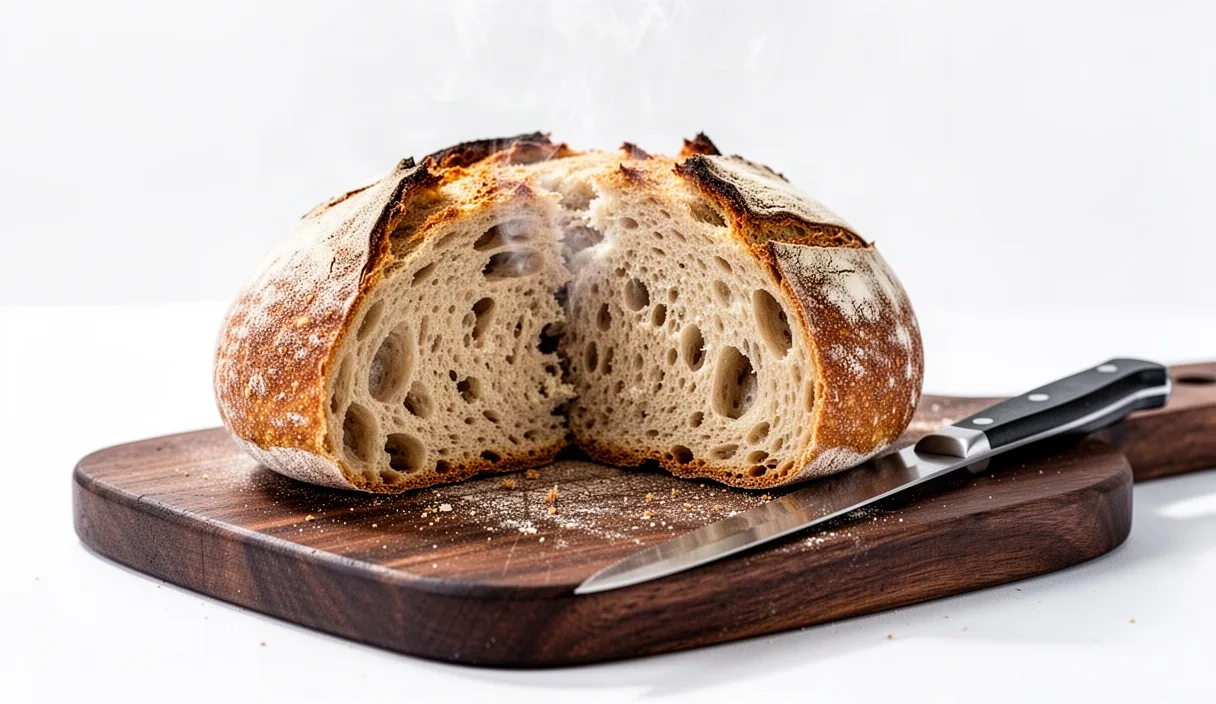
A loaf of sourdough pulled from our oven on a Sunday morning possesses a brief window of perfection. The blistered crust cracks under thumb pressure, singing as heat leaves the core, while the interior crumb holds an open, elastic lattice hydrated by trapped steam. By Wednesday or Thursday, that vivid contrast fades. The blistered surface dulls into a tough leather sheath, and the open pockets of the crumb stiffen into a crumbly, chalky matrix that sheds dry dust across the cutting board. Many loaves at this juncture are discarded or ground down before their time, yet the bread has not actually lost all its moisture. It has rearranged it.
We view bread through the lens of timber and stonework: it is a cured structural material governed by physics and heat transfer. When an aged boule stiffens, we can reverse the structural decay by reintroducing deliberate moisture and controlled thermal energy. Steam, applied with an understanding of starch behavior, relaxes the crystallized crumb and rebuilds the crispness of the crust. With a splash of cool water, a hot baking stone, and a few calibrated minutes inside an oven, a four-day-old loaf can regain its chew, its sweet wheat scent, and its supple interior balance.
Why Bread Stales: Starch Retrogradation Explained
Staling is not merely the evaporation of water into the kitchen air. If a loaf dried out purely through dehydration, sealing it tightly inside an airtight plastic wrap would keep it soft indefinitely. Instead, bread kept in a sealed bag turns soft, rubbery, and chalky even faster. The true driver of staling is a chemical rearrangement known as starch retrogradation. Flour contains two primary starch polymers: amylose and amylopectin. During the original bake, when internal dough temperatures cross 140 to 180 degrees Fahrenheit, these starches gelatinize. They absorb surrounding water molecules, swell up, unravel their crystalline bonds, and form a tender, amorphous gel that suspends the gluten network.
The moment the loaf cools below 130 degrees Fahrenheit, that gel begins an inexorable journey back toward order. The amylose molecules recrystallize within hours, which creates the initial firm slicing texture of day-old bread. The slower, more damaging phase belongs to amylopectin. Over three to six days, the branched branches of amylopectin shed their bound water, forcing moisture out toward the crust, and recrystallize into a rigid structure. The crumb becomes stiff, crumbly, and opaque. The water has not vanished from the loaf; it has migrated out of the starch pockets into the interstitial gluten walls and crust, where it slowly dissipates or softens the blistered exterior.
Reversing this crystallization requires thermal kinetic energy. When we heat the bread back above 140 degrees Fahrenheit, we melt the amylopectin crystals, forcing the free moisture back into the starch network. The gelatinized state returns. However, if we simply place a bare, stale loaf into a dry oven, the remaining moisture on the exterior bakes off before the heat reaches the center, leaving a core that remains chalky while the outer crust chars into cinder. We must supply external moisture to preserve the surface while the internal temperature rises.
Dampening the Crust Without Drenching the Crumb
The primary hazard of reviving an uncut or cut sourdough boule is over-saturation. If water enters the open pores of an exposed crumb, it turns the gluten structure into a heavy paste that bakes into an unyielding, gummy mass. We want water to saturate the exterior shell only, creating a temporary envelope of moisture that converts into steam the instant it hits radiant oven heat.
For an uncut loaf, the method is direct and physical. We carry the entire dry loaf to the kitchen sink. Turn the tap on cold, adjust the flow to a steady stream, and pass the loaf directly beneath the water. Rotate the bread continuously for four to six seconds. The goal is to wet every square inch of the crust until it darkens in color and feels slick, almost like wet river stone. Avoid letting water linger in deep scoring crevices where raw crumb might be exposed. Shake off the excess droplets vigorously over the basin before moving the loaf to your baking peel or pan.
When dealing with a partially sliced loaf where a bare cross-section of crumb is exposed, running water under the tap is too aggressive. The open crumb absorbs liquid like a dry sponge. For these partial loaves, we rely on a dual approach:
- Crumb shielding: Cut a small square of unbleached parchment paper or heavy aluminum foil and press it firmly against the exposed face of the crumb. This creates a physical barrier against liquid contact.
- Fine misting: Use a clean spray bottle filled with cold water. Mist the crust until it glazes with tiny beads, turning the loaf twice to coat the shoulders and base.
- Damped hand application: If no spray bottle is within reach, wet your bare hands thoroughly under the tap and stroke the crust firmly from bottom to top, depositing water directly onto the blisters without allowing drops to roll into the cut face.
Rebaking Temperatures and Timing for Different Loaf Sizes
The re-bake demands a high ambient heat. We are not gently warming a dinner roll; we need sufficient thermal transfer to melt the retrograded starch crystals in the core while flashing the surface water into vapor before it can soak inward. We set our oven to 400 or 425 degrees Fahrenheit. A heavy baking stone or cast iron pan preheated on the center rack provides bottom conduct, ensuring the bottom crust crisping matches the top arch.
Placing the loaf directly on a preheated stone yields the fastest crust reconstitution. If you are baking on a flat sheet pan, line it with a thin sheet of parchment to prevent any residual starch water from sticking to the metal. Loaf mass dictates your dwell time. A small batard heats through rapidly, whereas a dense, whole-rye boule takes substantially longer for heat to penetrate the interior core.
| Loaf Style and Mass | Oven Temperature | Rebake Duration | Tactile Test for Completion |
|---|---|---|---|
| Small Demi-Baguette (180 to 250g) | 425 degrees Fahrenheit | 6 to 8 minutes | Crust shatters under light thumb pressure; sounds hollow. |
| Standard Batard (500 to 650g) | 400 degrees Fahrenheit | 12 to 15 minutes | Crust yields slightly with audible crackle; base feels firm. |
| Dense Country Boule (800 to 1000g) | 400 degrees Fahrenheit | 18 to 22 minutes | Deep resonance when thumped on bottom; crust dry and taut. |
| Cut Half-Loaf (Wrapped Cut Face) | 400 degrees Fahrenheit | 10 to 13 minutes | Top crust resists thumb denting; face shows steam warmth. |
Listen carefully during the final three minutes of the bake. As the moisture cooks off the skin, you will hear minute pinging sounds coming from the oven rack. This is the crust drying out and contracting against the expanding crumb beneath it, the same auditory signal heard when fresh bread emerges from a morning bake.
The Ten-Minute Rest to Prevent Gummy Centers
Pulling the revived loaf out of the heat brings an immediate temptation to slice into it while it fills the room with toasted grain aromas. Giving in to that impulse will undo your work. Cutting hot, refreshed bread results in a damp, compressed smear across the blade of your bread knife.
When the bread leaves the oven, the core temperature typically registers between 155 and 175 degrees Fahrenheit. At this heat, the melted amylose and amylopectin matrices have liquefied back into a gel, but they have not yet set into their stable, sliceable network. Moisture is actively circulating through the crumb as pressurized vapor, moving outward toward the drying crust.
Transfer the loaf immediately to an open wire cooling rack. Do not let it sit on a flat wooden board, a cold countertop, or inside the hot metal pan, as trapped bottom moisture will condense into a sodden base within two minutes. Allow the bread to sit undisturbed for ten to twelve minutes. During this rest:
- The excess steam stabilizes, settling evenly through the webbed alveoli of the crumb.
- The starches firm from a delicate liquid gel into an elastic, chewy crumb that springs back when touched.
- The crust, softened momentarily by escaping interior humidity, re-crisps as moisture flashes away into ambient room air.
Once the loaf feels warm rather than burning hot to the palm, use a sharp serrated knife with gentle, sawing strokes. The interior will reveal the original glossy walls and open cell structure of a fresh bake.
Secondary Uses for Truly Dry Heel Pieces
There is a threshold beyond which steam cannot rescue a sourdough loaf. If a heel piece has sat exposed on a cutting board for six or seven days, its moisture content drops below 12 percent. Heating this piece will not melt retrograded starches because there is insufficient internal water left to hydrate the gel. The bread will simply bake into hardtack. At this point, we celebrate the wood-like dryness of the material and reprocess it into long-keeping kitchen staples.
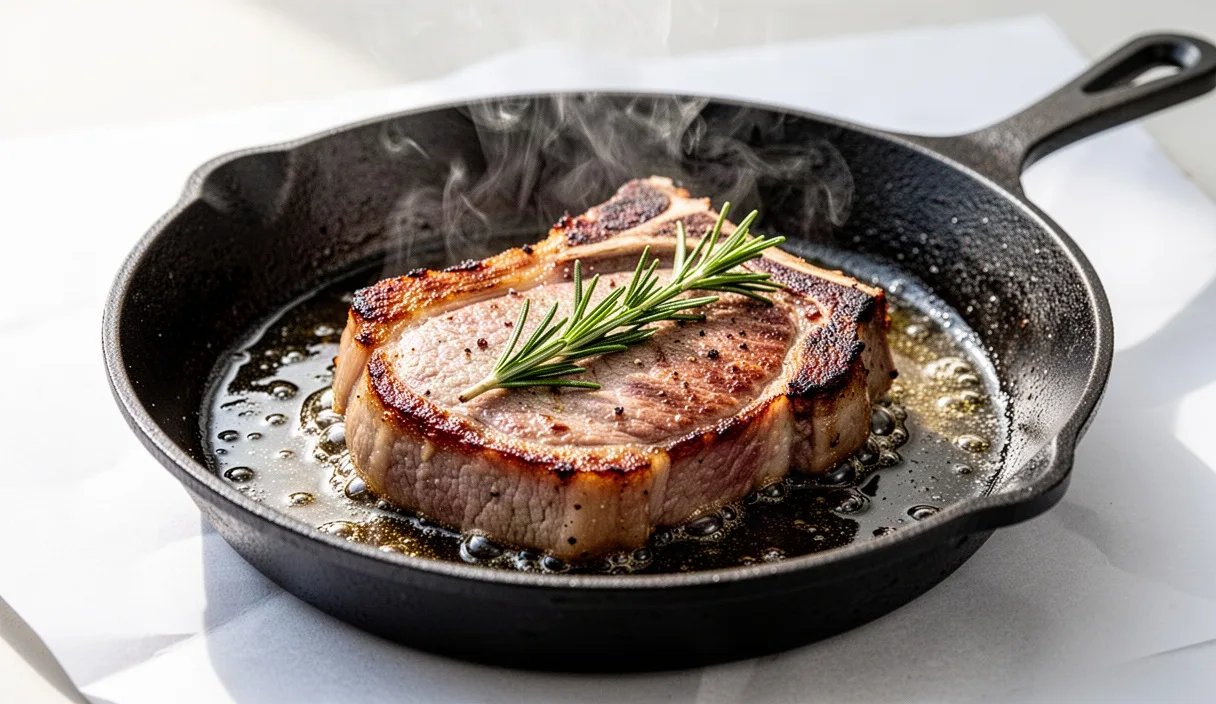
Our primary route for rock-hard heels is brown butter pan-toasting for rustic croutons. We do not cut dry heels with a knife; they shatter unpredictably. Instead, take a heavy chef knife or cleaver, set the blade on the heel, and strike the spine with the heel of your hand to fracture the dry bread into jagged, irregular nuggets roughly thumb-sized. Toss these shards into a medium-hot cast iron skillet with melted lard or unsalted butter, a crushed garlic clove, and fresh rosemary sprigs. Fry slowly over moderate heat for seven minutes until the rough edges brown and soak up the fat. The irregular fractures create crevices that trap vinaigrettes without softening into mush.
If the remnants are too small or splintered for croutons, turn them into toasted sourdough breadcrumbs. Break the pieces down in a stone mortar or a heavy food processor until they reduce to a coarse grit. Spread the grit across a bare baking sheet and toast at 325 degrees Fahrenheit for ten minutes until golden blonde. Sourdough crumbs carry an inherent lactic acidity that balances rich foods. Store them inside a clean glass jar with a tight metal latch. They will keep in a dry pantry for several weeks, ready to top baked gratins, bind pork meatballs, or thicken a classic Roman bread soup.
Common Mistakes When Reviving Bread
Through our work with wood-fired hearths and domestic kitchens alike, we have observed several missteps that compromise the recovery of aged loaves:
- Using the microwave: Placing stale bread in a microwave oven heats water molecules unevenly through dipole rotation. While the bread emerges soft for ninety seconds, the rapid steam expulsion destroys gluten structure permanently. Once it cools two minutes later, it turns into an inedible, leathery brick that cannot be re-wetted or revived.
- Soaking the bottom crust: The flat bottom of a sourdough loaf is often thinner and more porous than the scored upper arch. If you allow the bottom to soak in standing water on a cutting board, it will become waterlogged and bake into a dense layer resembling wet cardboard. Keep the base damp, never saturated.
- Skipping oven preheating: Placing damp bread into an oven that is still rising from room temperature slowly bakes out the added moisture before steam pressure can build. The crust stays soft and leathery instead of cracking thin and crisp. Always verify that your oven has reached full temperature before the bread enters.
- Attempting a second revival: This thermal transformation works once. The retrograded starches can be melted and re-set a single time. If a revived loaf is allowed to cool, sit for another two days, and stales again, the starch polymers undergo irreversible moisture loss. Trying to re-steam it produces a gray, gummy, flavorless crumb. Revive only what you intend to consume within four hours.
Taking the Method to Your Kitchen
Before you run your next aged loaf under the faucet, prepare your workstation. Set your oven to 400 degrees Fahrenheit now and slide your baking stone or heavy sheet pan onto the middle rack. Clear a wire cooling rack on a draft-free side of your counter where the loaf can rest post-bake without being disturbed by cool currents.
Take your stale bread in hand and assess its condition. Press your thumb into the center of the crumb if it is sliced, or squeeze the arched sides if it remains whole. If you feel even a faint give beneath the crust, the internal water network is intact, waiting for heat to liberate it. Shield any cut surfaces, introduce a measured coating of cold water to the outer crust, and transfer the loaf to your hot oven. In fifteen minutes, what was once headed for the compost bin will anchor your table as a crisp, fragrant centerpiece.